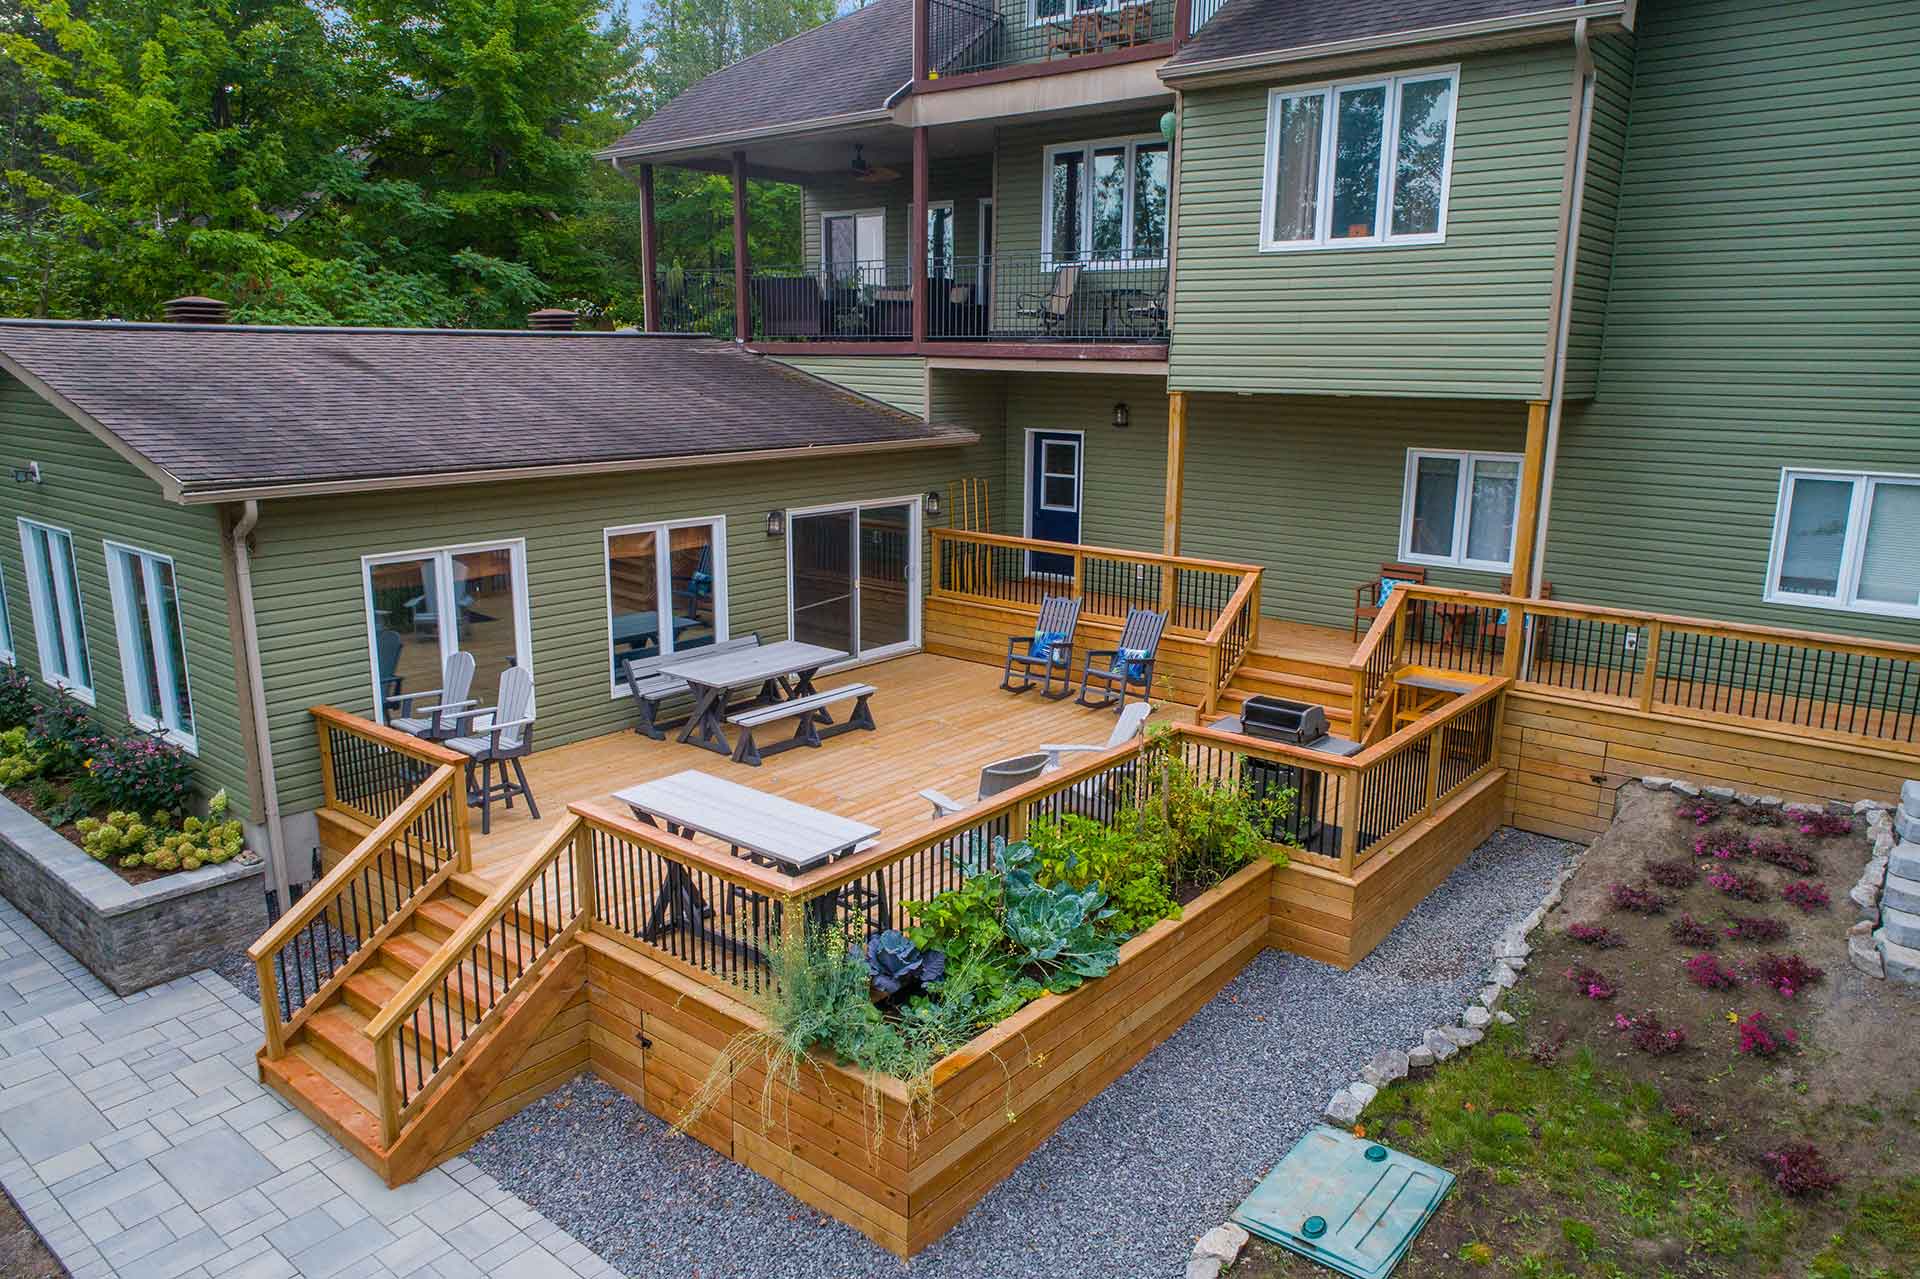
Building Decks Close to the Ground
In the residential timber game, we would see more problems with decks built close to the ground than almost any other applications.
What is low to the ground? Under the BCA (Building Code of Australia), residential timber decks designed for a 25yr + life span should have clearance under the bearers of at least 450mm and be well ventilated on two or three sides for cross-breezes, with the ground sloped for drainage. Plus the usual good building practices.
If your deck can’t achieve this clearance, you are building a poorly ventilated deck, close to the ground which will require special design, materials and construction. The same goes if you are building a deck over concrete, tiles, etc.
Decks are like most elements of building. When problems occur, they don’t usually fall apart completely, but they can partially fail, look bad and perform poorly. And it’s not usually the fault of the timber!
In our experience we reckon:
- 60% of failures are due to poor deck design
- 20% to incorrect fixing and gapping
- 20% to unsuitable materials and sizes of timbers

Most decks built close to the ground, even if designed and constructed using appropriate materials, will probably only have a realistic service life of 10-20 years due to the inherent problems with inadequate sub-floor ventilation and moisture.
However the reality is that these decks are common, so what are the tricks and tips to minimise any problems and maximise useable life?
Try these:
- Always use a Durability Class 1 decking timber – Spotted Gum, Accoya, Merbau, Ironbark, White Mahogany. All sub-frame members should be H4 treated. H3 treated pine or hardwood is NOT suitable as this is a H4 environment due to the constant moisture they’re exposed to! Some decks we see have as little as 25-50mm clearance above concrete or tiles, so in these cases, non-timber battens /joists like aluminium or plastic composites are a better option.
- Do not use wide, thin decking like 135/140x19mm. 86/90x19mm (and narrower) is more stable and offers more ventilation gaps per square metre of deck.
- Paint the underside of decking boards with black/charcoal fence paint to reduce absorption of moisture. Cupping occurs when the underside is moist and expands, while the top is dry and shrinks..
- Set gaps at a minimum of 6mm for 86/90mm decking boards. 140 x 25/32mm boards should be a minimum of 8mm apart. During the wet season decking boards will naturally absorb moisture and expand, so it is vital that they continue to drain rainwater and never touch.
- Shape the ground so that it drains away naturally, then top with sand or gravel, especially in heavy soils. On flat ground, lay drainage pipe in the gravel/sand base to take water away and prevent pooling. Paint joists black as well. Make sure ends of timber decking boards and joists are clear of contact with soil, mulch etc. Use end-grain sealant on all cut ends.
- Decks fixed to battens over concrete slab, tiles, pavers etc are often installed where there is little fall or where battens are laid across the fall to prevent water run-off. Even with well-gapped decking boards, moisture problems will develop quickly with this type of installation. Design this carefully with drainage as a primary consideration.
- Maximise cross flow ventilation to areas under deck by not boxing in the sides. Instead, use narrower screening decking products like 65×19 or 42×19 and allow a minimum of 20mm gap between boards and 50mm of ground clearance. Better still, why not leave them open and plant some well-spaced architectural grasses or similar to soften the edges and allow the breeze through?
- Regularly clean and oil your deck with a good quality penetrating timber oil. Don’t use film-forming products. No suitable product seems to last longer than 12 months in exposed areas, so clean the deck with a high-pressure washer or stiff broom and detergent and re-oil annually.

